Many high-schools in our area create banners for their sports team to display in the gym during the season. Sometimes the photographer that does your official team photos will offer to make such banners, but that may cost $40 or more per player. Here is how to do it for about half the price and with more flexibility.
How to take the photos
Find the right spot
The priority is to find a spot with a nice background and good light. Using a tripod or stand keeps the camera stable and stationary. Mark a spot on the ground for the players to stand on for consistency. They should be one or two feet away from the background so that it goes out of focus a little.
If your camera and lens work well in low light and the weather is bad, you can try to take the photos inside. Find a place with good lighting or large windows and/or a good flash. If you do use flash you may need to bounce it off a wall or have a diffuser of some sort. It is much better to find a good spot outside as long as it is not in direct sunlight and there is a nice background to contrast the jerseys. Take test shots and look closely.
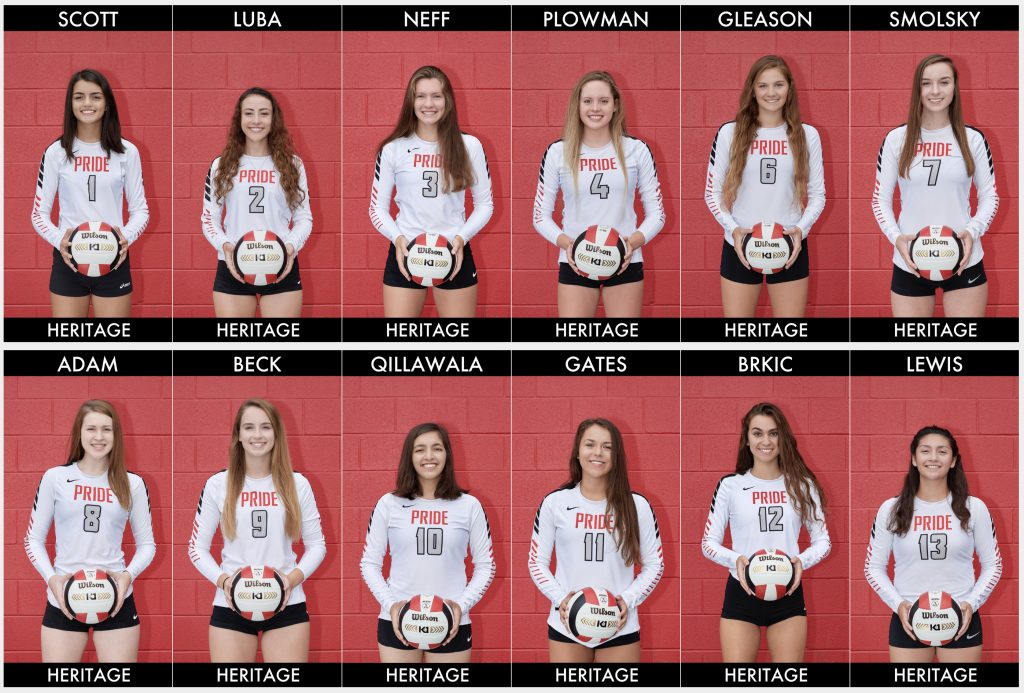
(Com)pose for a big banner
The file resolution is important when printing banners this size. In other words, make sure you do not need to crop the images later. Start with the tallest player on the team and make sure they fit exactly as you want the final banner to be. You do not need much empty space around the players. The banners are narrow and you would end up wasting a lot of pixels if you are zoomed out and have to crop each photo. Cropping just above the knees works well if you are not going for the whole figure.
The rest of the players should stand in the same marked spot and you should not move the camera, even if they are much shorter. Otherwise, you may end up with players looking unnaturally big or small relative to each other when you finally display the banners on the wall.
The details are in the details
There are many other little things to decide on before the shoot begins: whether or not to tuck in jerseys, how players will hold the ball, etc. I was always lucky with the team being able to make those decisions themselves. They can watch out for their teammates to make sure the jersey is straight, the spandex are even, the hair is not covering the jersey number…
Take multiple shots of each player, have them take a look and then take a few more. Do not decide which one you will use until you can see them on a bigger screen. A small preview is sometimes not enough to tell whether or not a picture is blurred.
How to order the banners
The name of the company is a bit cheesy but the quality and service are great and cheaper than any other place. We ordered 4 feet by 2 feet banners. Note that on the site they list the vertical size first.
Order your banners here: Banners on The Cheap
We placed the order on a Sunday and they were done and fedexed by Tuesday. Received them on Friday. Including shipping, each banner cost $23 per player. They have an even faster shipping option, but that would double the price.
We used the “premium banner” option – better than the regular vinyl for printing photos, but we did not order any holes or other finishing to be made. We just stick them to the gym wall with four pieces of two-sided 3M tape from Home Depot (claims to hold 15 pounds).
The vendor lets you add words to the banner on their website but that interface is not great. I added the letters myself and uploaded a finished photo. Make sure to select the correct size of the banner before uploading the photo. That way it will automatically fill the size completely.